OpnSense Dynamic DNS Updates Using Amazon Route 53
#opnsense #ddns #aws #route53
Introduction
I've been using the free tier of no-ip for my ddns service for several years. While it's worked fine the monthly manual check-in to keep my service was getting old. Since I'd recently moved my public DNS over to Route 53 I figured I'd try moving my ddns over there.
I couldn't find any documentation online so here you go.
Configuring AWS
Create an IAM User
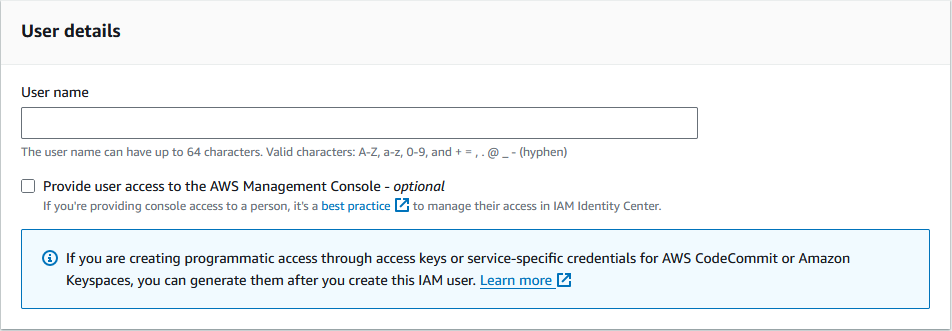
The first thing you'll need to do is create an IAM user with rights to update your dynamic DNS record.
Logon to AWS and select the IAM service.

Create a new user. Do not grant it access to the AWS console.
On the next page select Attach policies directly and then Create Policy.
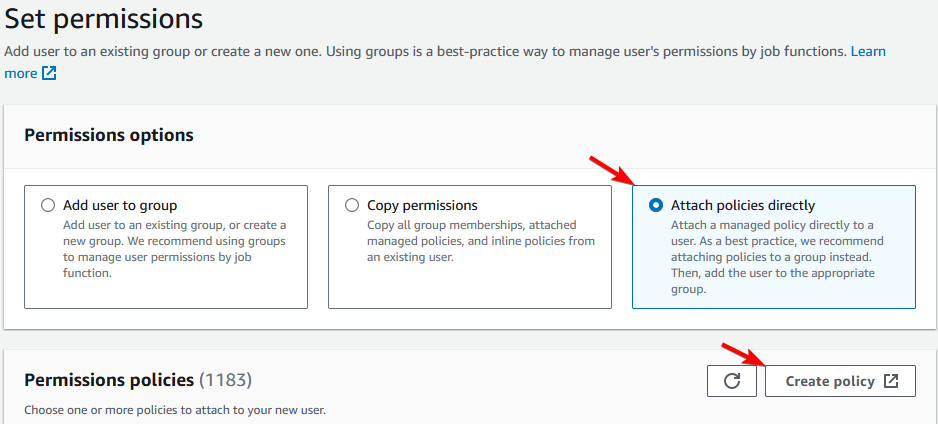
Click on JSON.
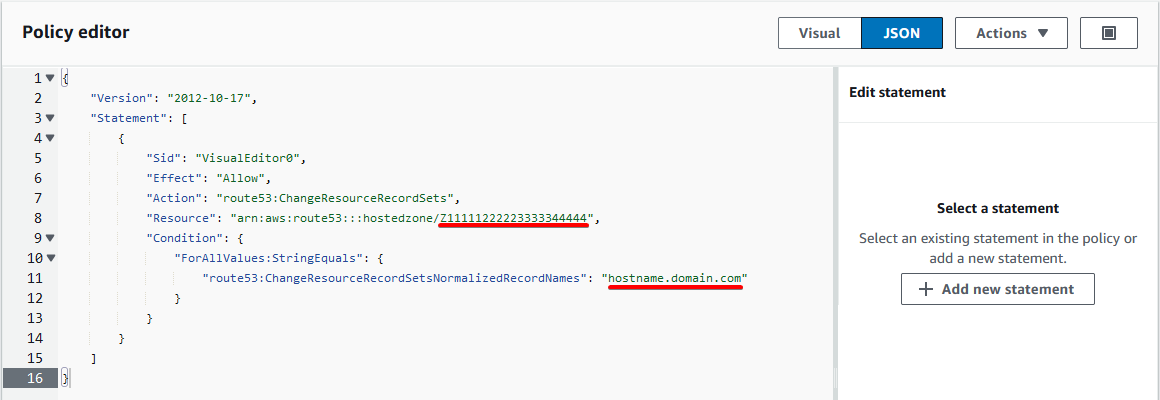
Paste the following code replacing Resource with the Hosted Zone ID of the domain your DDNS record will be in and hostname.domain.com with the FQDN of the DDNS record.
{
	"Version": "2012-10-17",
	"Statement": [
		{
			"Sid": "VisualEditor0",
			"Effect": "Allow",
			"Action": "route53:ChangeResourceRecordSets",
			"Resource": "arn:aws:route53:::hostedzone/Z11111222223333344444",
			"Condition": {
				"ForAllValues:StringEquals": {
					"route53:ChangeResourceRecordSetsNormalizedRecordNames": "hostname.domain.com"
				}
			}
		}
	]
}
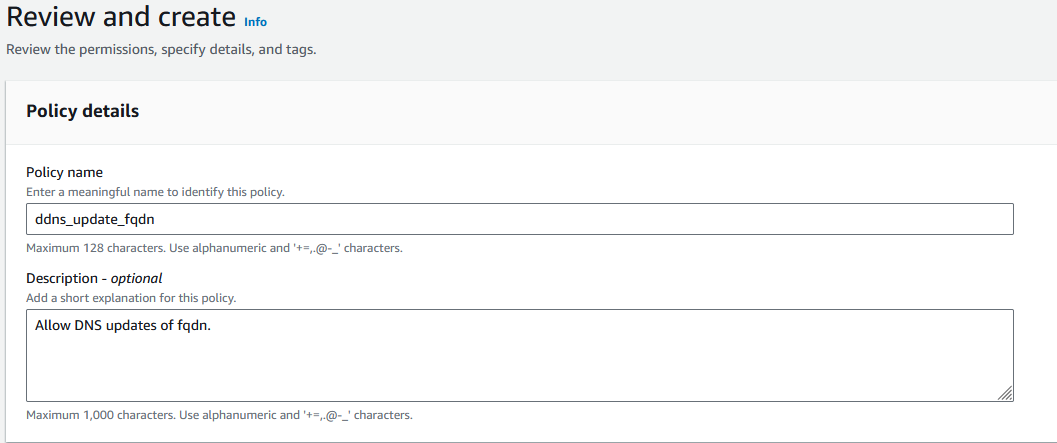
On the next page give the policy a name and create the policy.
Once that is done, go back to the create user tab in your browser. Click the refresh button under Permission Policies and then type the name of the policy you just created in the search bar.
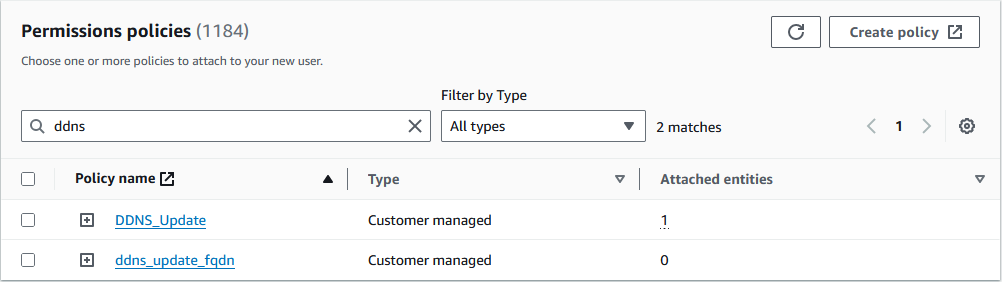
Check the box next to your new policies to select it. Next search for the AmazonRoute53ReadOnlyAccess policy and check that as well.
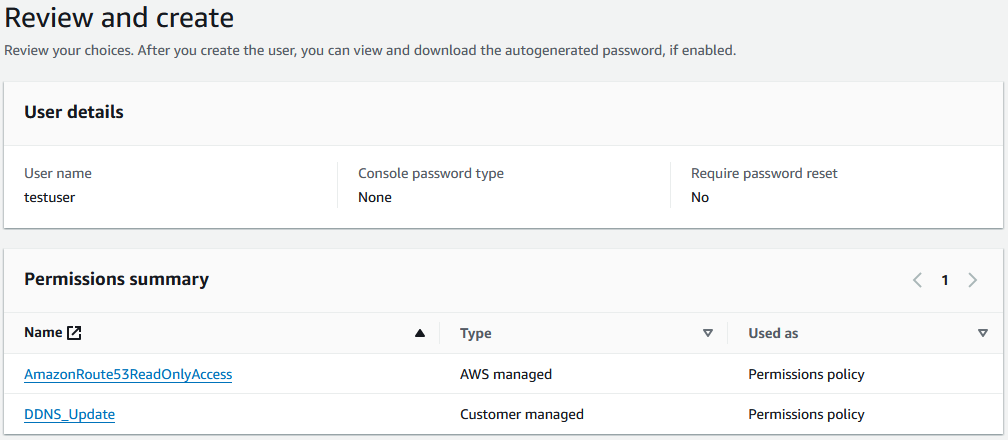
On the next page confirm the details for the new account. You should see both policies listed. Then click Create User.
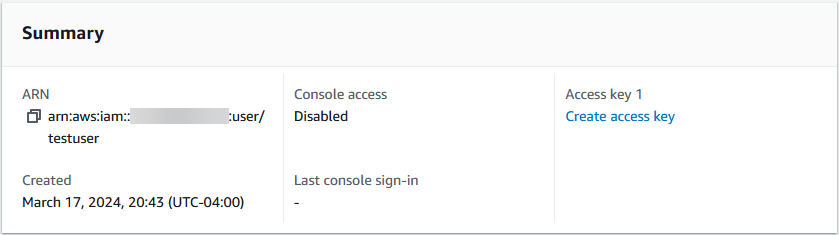
Create an Access Key
Under the user summary click on Create access key.
Select a use case of Other and click Next.
Enter an optional description and click Create access key.
Make note of the Access Key and Secret Access Key as you will need that information later and then click Done.
Configure OpnSense
These steps require the os-ddclient plugin to be installed. If it's not already installed you can find it in System > Firmware > Plugins.
Open Services > Dynamic DNS > Settings and then click the plus to add a new account.
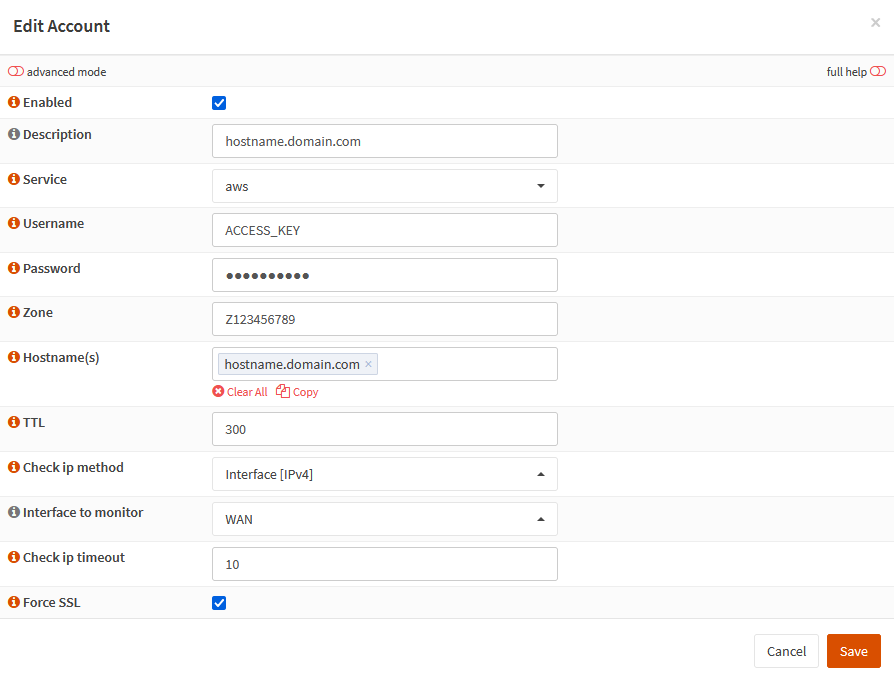
Enter the following values and click Save.
Enabled: Checked Description: You can put anything here, I usually put the fqdn. Service: aws Username: IAM User Access Key Password: IAM User Secret Access Key Zone: Route 53 Host Zone ID Hostname(s): The FQDN of the DDNS record TTL: 300 (default) Check ip method: Interface [IPv4] Interface to monitor: WAN Check ip timeout: 10 (default) Force SSL: checked (default)
If everything was configured properly, within 10 minutes the DDNS record should be updated.